Project #11.1: The Powder Room
We have had a busy summer, so there has been very little time for renovations. To get back into the swing of things, I decided to tackle only a small project: the Powder Room.
In case you were wondering, the term powder room has been around since the 18th Century. It was considered a closet sized room where people applied extra powder to their wigs.
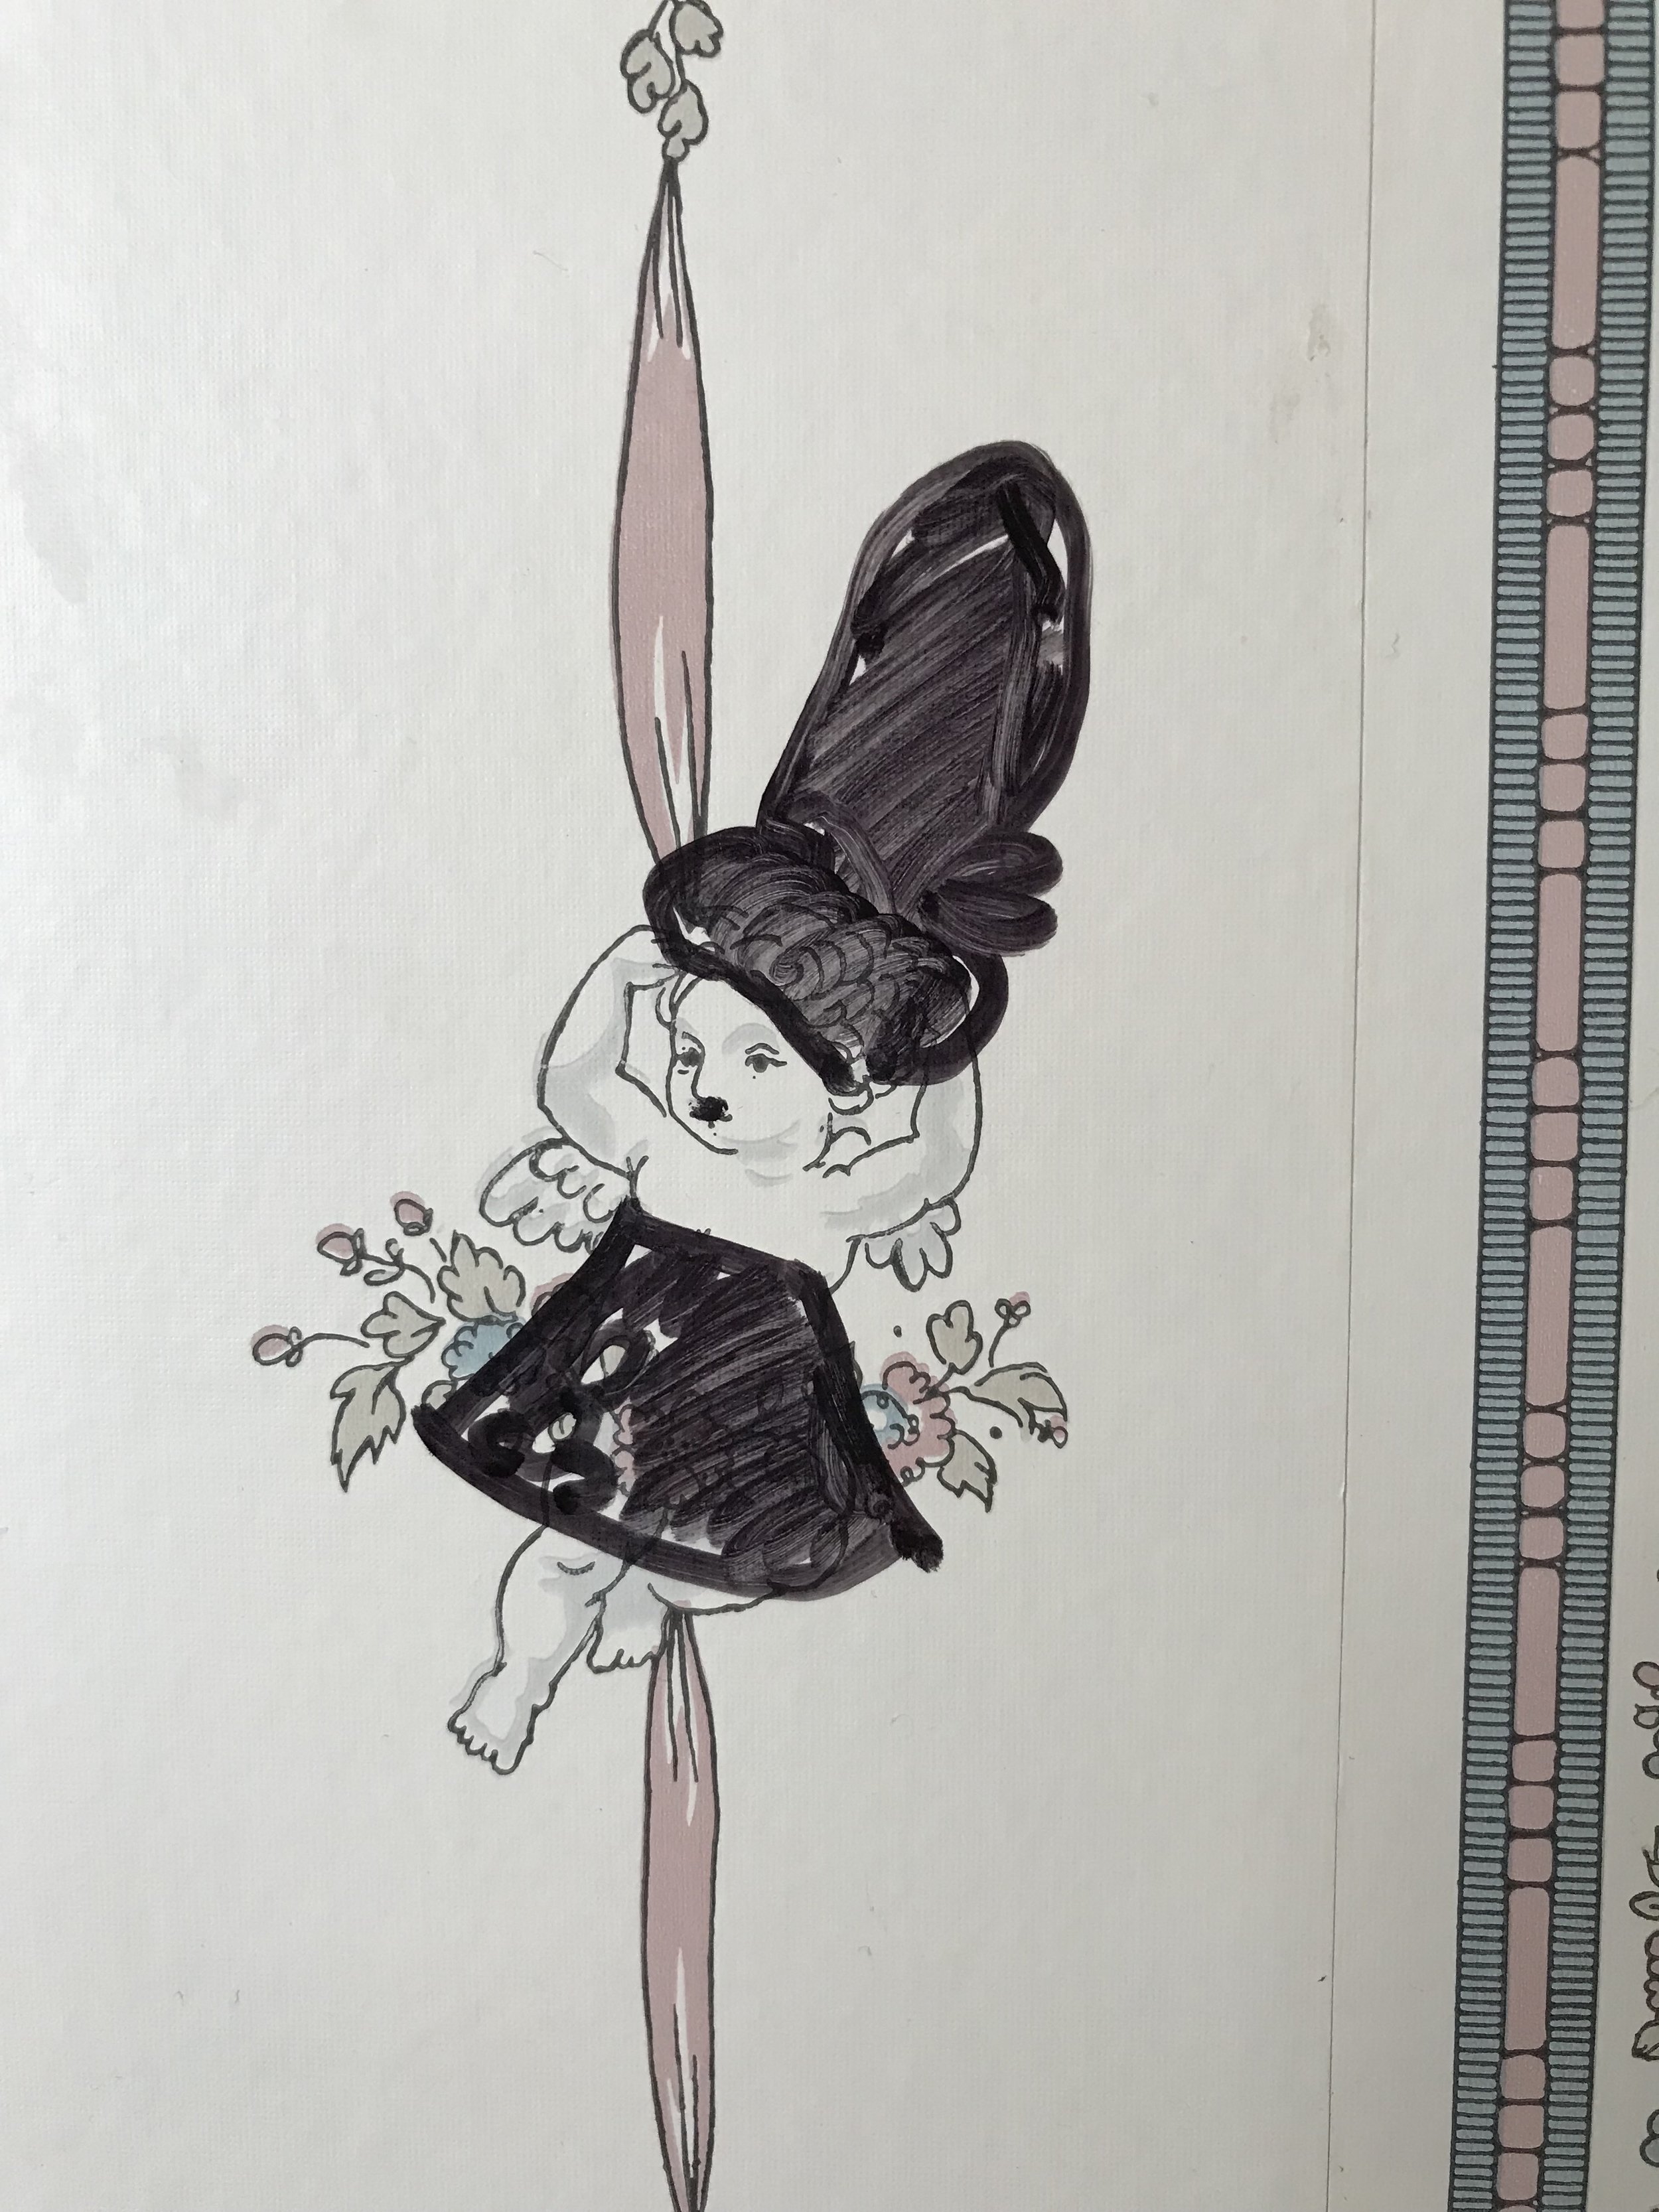
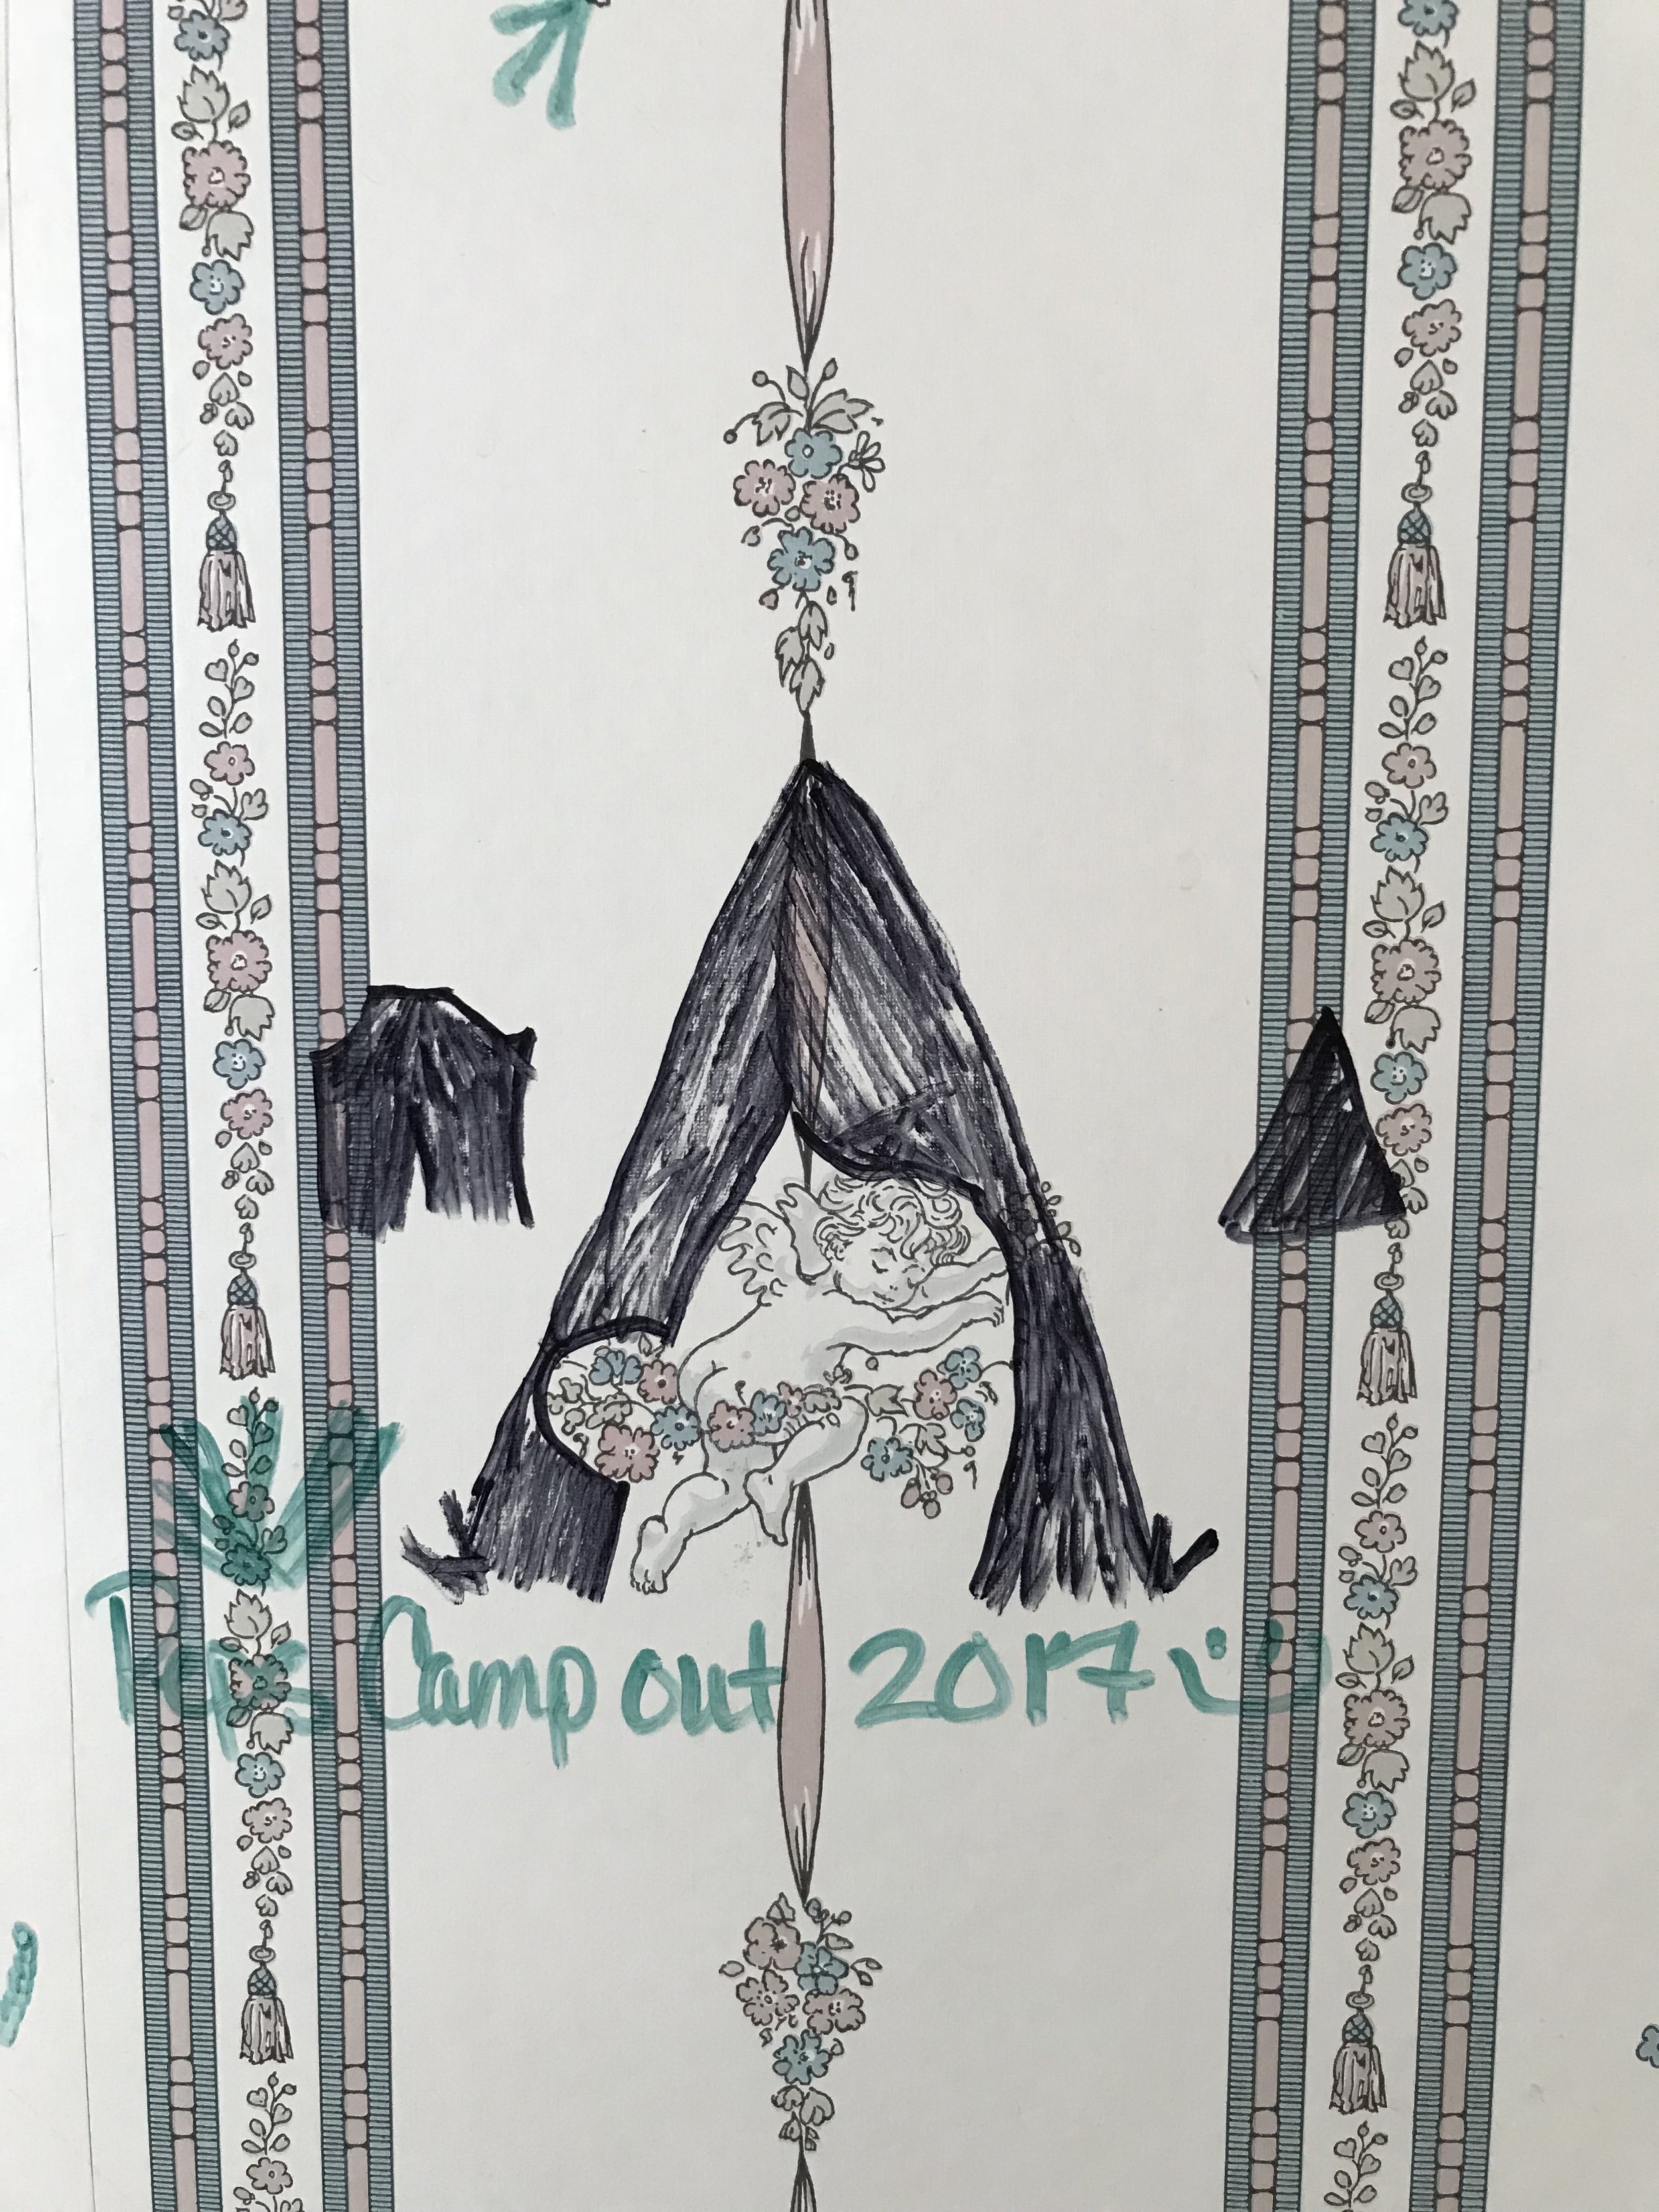
Our Powder Room is located in the vestibule of the church house. The vestibule was originally an open-air covered space at the top of the church steps. I believe it was closed in the late 1980s to make room for two things: a furnace and the powder room. The furnace was eventually replaced with electric heat, but the powder room remained. When we moved in, the powder room was wall-papered (of course it was) with hundreds of tiny cherubs.
Knowing the wallpaper would eventually come down, we have invited guests to dress the cherubs using Sharpies that we have made available. Here are some of my favorites:


My plan was to simply remove the wallpaper, install a wall-mounted faucet, and hang the sink. Easy peazy. One weekend. I’ll be done by Sunday night. Famous last words. Removing the wallpaper meant first removing the “backsplash” which consisted of tiles glued to the wallpaper. Hmmmm…I wonder what led to that design decision. I then started removing the wallpaper. This was the easiest wallpaper removal to date. I have this theory that someone ran out of the terrible paste they had been using upstairs and bought something new! There was only one small area where glue residue had to be removed. Phew! This will be SO easy.


Then I moved on to removing the pedestal sink. I was worried that it would have been bolted to the floor (and it SHOULD have been bolted to the floor). But no! Like the basement pedestal sink (which you’ll recall was not even glued down), this one was not bolted. It was well-glued, but that was easy to dislodge and scrape off. Great! No bolt holes to contend with. Phew! This will be SO easy.


The next step was to remove a portion of the drywall so I could install the wall faucet backing plate. I measured the height and width and cut out a square (mis)using my chisel. I pulled off the drywall and found a surprise. Do you see what’s missing?


Hint: Its pink. Fluffy. Scratchy. Right. Yep. Uh huh. NO INSULATION. And yes, that IS an exterior wall. So if you were wondering why the bathroom was so cold last winter….well, the mystery is over. Curses. I decided to tear out all the drywall (only on that wall). Besides the obvious benefit of venting my frustrations through destruction, it allowed me all the space I needed to install the backing plate. Of course, this little detour was not the extent of the challenges.
Once I tore out all the drywall. I started to install the water lines. This meant dealing with the ferule. DAMN YOU, FERULE! You are the bain of all existence! As you’ve seen from my previous bathroom post, removing the ferule can be tough. This time it would not have a happy ending. The ferule was so adhered to the copper pipe, that even my super tools would not take the ferule off without damaging the pipe. In the end, I had to saw off the ferule and the pipe suffered damage that I would not be able to repair.


Because the pipe was damaged, I had to reconsider how to approach the water lines. One option was to cut the pipes vertically and completely enclose the water lines and any shutoffs in the wall. For better or for worse, I went with this option. It definitely was the best looking option, but one that will lead to challenges if I need to change out the faucets or repair a leak that springs up north of the copper water lines. These risks are low, however, so I am comfortable with my choice. I’ll take a moment to rave about the little tool I used to cut the copper pipes: a close-quarters copper pipe cutter, like this one here. It worked great and the cut was nearly perfect.
Removing all the drywall also revealed that the existing structural conditions were not great. The studs were not 18” o.c. and a single stud was right where the backing plate was supposed to go. Also a drain pipe was making things tight. As a result, I had to get creative. I added a stud (not easy in such a small space) and sistered-in another to support the sink. I almost tacked a note inside the wall, “Dear subsequent homeowner, don’t judge me. The way this is constructed is not my fault.” After I installed the backplate and the water lines, I insulated the wall. I think I may have actually heard the wall breathe a sigh of relief as it was covered in warmth.


Then I started closing the wall back in. I’m sure there are lots of folks who hate plaster, so consider me in the opposite camp. I really hate drywall. I hate drilling into it. I hate hanging it. I hate tearing it out. I just hate it. As a result, I went with the same ship lap I used downstairs in the bathroom to close in wall. I left the other walls alone. I am 99% sure the other outside wall is also uninsulated, but I’ve decided to leave it be until the time comes for the window in that bathroom to be replaced. It’s a vinyl window, so that time WILL come and probably too soon. #restoreoldwindows Here is how the wall progressed…


Once I got the faucet installed, I could move on the the sink. At the risk of being boring, I purchased an Alape sink for this bathroom, but I removed the edging for a more vintage look. You can see the difference below. I installed a mid-century modern light fixture from Rejuvenation, which replaced the old victorian inspired fixture.


The next steps are to paint the walls with a good primer to seal in any wallpaper residue. Then its on to choosing a color….stay tuned.