Project #8.3: Downdating the Guest Bath: Completion!
Painting the Wood
I need to confess that I hate covering up wood with paint. And considering the fact that I will spend a whole host of hours removing paint from the church windows upstairs, it might seem like a contradiction that I would be painting wood downstairs. However, not all wood is the same. Upstairs, the fir windows are made of old growth wood with tight grain. Besides its good looks, old growth wood is stronger, more rot and termite resistant, and more stable.
Downstairs, the bathroom step and the banisters are new growth wood, so there are less rings in the grain and they are farther apart. The banisters and the step in the bathroom had been stained a reddish brown and polyurethaned. It would take a significant amount of stripping and sanding to get them down to the bare wood. Lastly, aesthetically, I wanted to reduce the visual clutter that a dark wood banister created against the tile floors and white shiplap. So considering all these things, I decided to paint them.
First, I sawed off the 1990s-style post caps, while retaining existing newel posts and balusters. I applied a test patch to see if I liked the color. I did. Second, I prepared the surface for the paint. I knew from experience (and from my test patch) that if I didn't sand off the polyurethane, the paint would simply scratch off. Also, the step would take a beating, so I wanted a durable paint to withstand high traffic. It took a lot of sanding to prepare them to take the paint and there were spots I couldn't reach, even with my trusty rotating Dremel. Lastly, I painted. My first coat of paint was an oil-based primer. Oil-based paint is more durable than water-based paints and it is more able to adhere to any polyurethane residue. It is also great for sealing in any wallpaper glue residue prior to painting your walls. My second and third coats were a water-based paint.
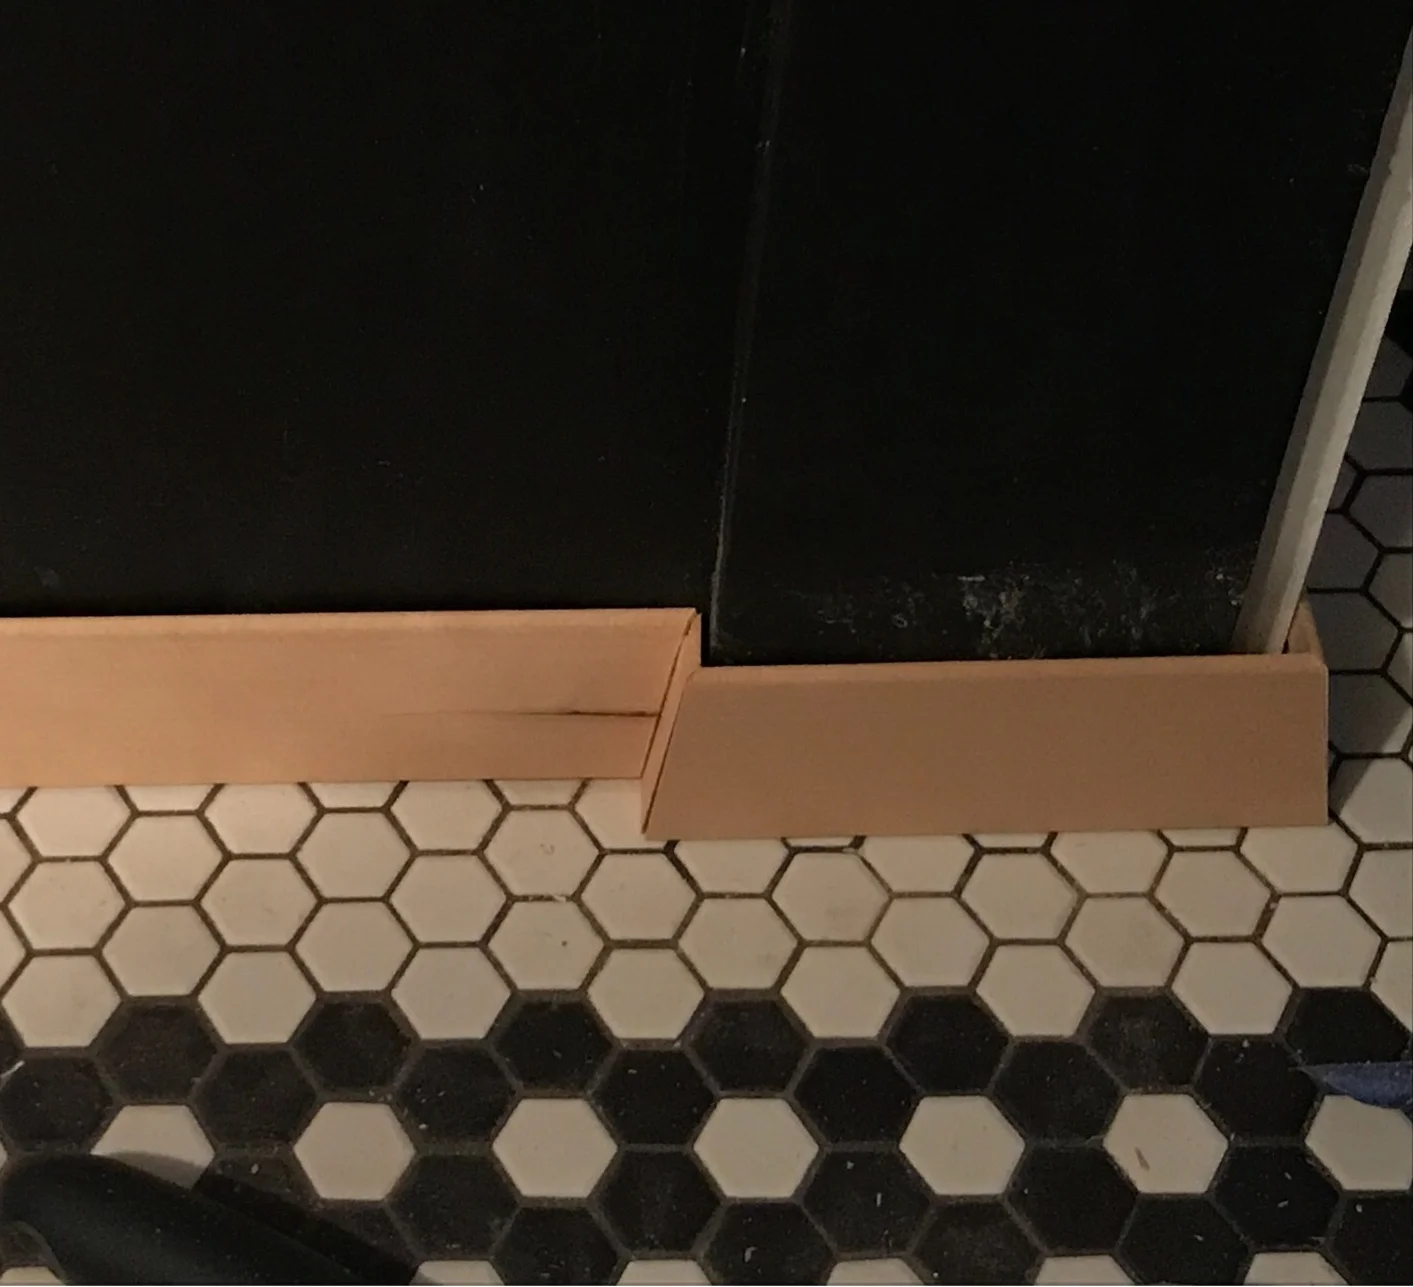
I was very anxious for the trim to be done, but I was concerned about how it would look on our not-quite-square bathroom floor and walls. Plus, I'd never trimmed out a bathroom floor before. As with most things, once I got started, the worry just fell away. With a chop saw and a nail gun, the work went quickly. There were some tricky areas, like the corner near the tub where an existing trim board created a strange square void in the base trim. But that was solved by inserting a small block of wood with a little wood glue.
After I trimmed, I thought that the bathroom looked really great. However, what really made all the difference was caulking. Honestly, I almost didn't caulk at all, but there were a few spots that I thought would benefit. For example, where the trim was not quite flush against the wall, where the shiplap met the ceiling, or where two shiplap boards did not meet as cleanly as I would have liked. Little did I know that once I started to caulk, I would not be able to stop. It really made all the difference between a good looking job to a truly professional looking job on the white on white areas. On areas between white molding and colored walls, I found it difficult to get a clean line, but it still improved the overall look of the bathroom. So go forth....and caulk! And in the pictures below, see if you can spot the moth who matched perfectly our shiplap white.
After the bathroom was trimmed and caulked, I spent a few hours over a couple of days spot painting and touching up areas that needed it. And then we moved in the bathtub...Thank you, Terra and Randall!. Hooking that up was as easy as uninstalling it; however, we still have not purchased or installed rigid supply lines that match the new bathtub faucet. Instead, I installed the tub with inexpensive and forgiving flexible stainless steel lines. At some point, I will change those out for something more upscale.
Other items worth mentioning: A beautiful train rack for towels above the tub. A $35 mirror purchased at Second Use that had been salvaged from a Seattle High school. An articulating mirror next to the sink. A $10 rose gold towel hook. Porcelain cups and holders. And two sconces.