I have not been excited about any part of the bathroom as much as I was excited about the floors. A few reasons: First, I wasn't doing them. Second, Terry VanderWaal was. Terry owns Terrapin Tile here on Vashon Island. He is very skilled, experienced, and thoughtful, so I was really excited that he could fit our project into his schedule.
Before he came, I prepared the floors for the tile. The first step was removing the toilet. Removing the toilet was super easy. Buuuuutttt, what was under it required some work. The toilet flange was partially rusted out and needed to be replaced. I'll was going to spare you the photo....but no. Look away if you must.
There are a few ways a rusty flange can be fixed, but the easiest ways are (1) to knock out the old flange and install a new two-piece flange or (2) buy a plastic flange that pushes into the existing pipe and covers the rusty flange, like this one here. I chose to beat the current one into submission and pry it off. After the tile is installed, I'll replace it with a two-piece flange that sits on top of the tile. It really MUST sit on top of the finished floor or you won't get a good seal when you install the toilet. Note to all: Get a nice fluffy rag and stuff it into the hole where the toilet was..otherwise the fumes from the sewer pipe will stink up your house. I could tell immediately by the smell when our dog had pulled out the rag. Gross.
After the toilet was up and out, it was time to move the claw foot tub. Claw foot tubs are really, really, REALLY heavy. It took four people to move it out safely without damaging the tub or the walls. Thank you, Charlene and Albert! As you can see there is some water damage to the subfloor, but the wood itself was solid so only a few repairs were necessary. In prepping the floor, I took the opportunity to remove the old bathtub supply line valves and capped the water supply with two Shark Bite caps that can be easily removed when the tub is reinstalled. Again, stick a rag in the drain pipe to avoid sewer gasses creeping up.
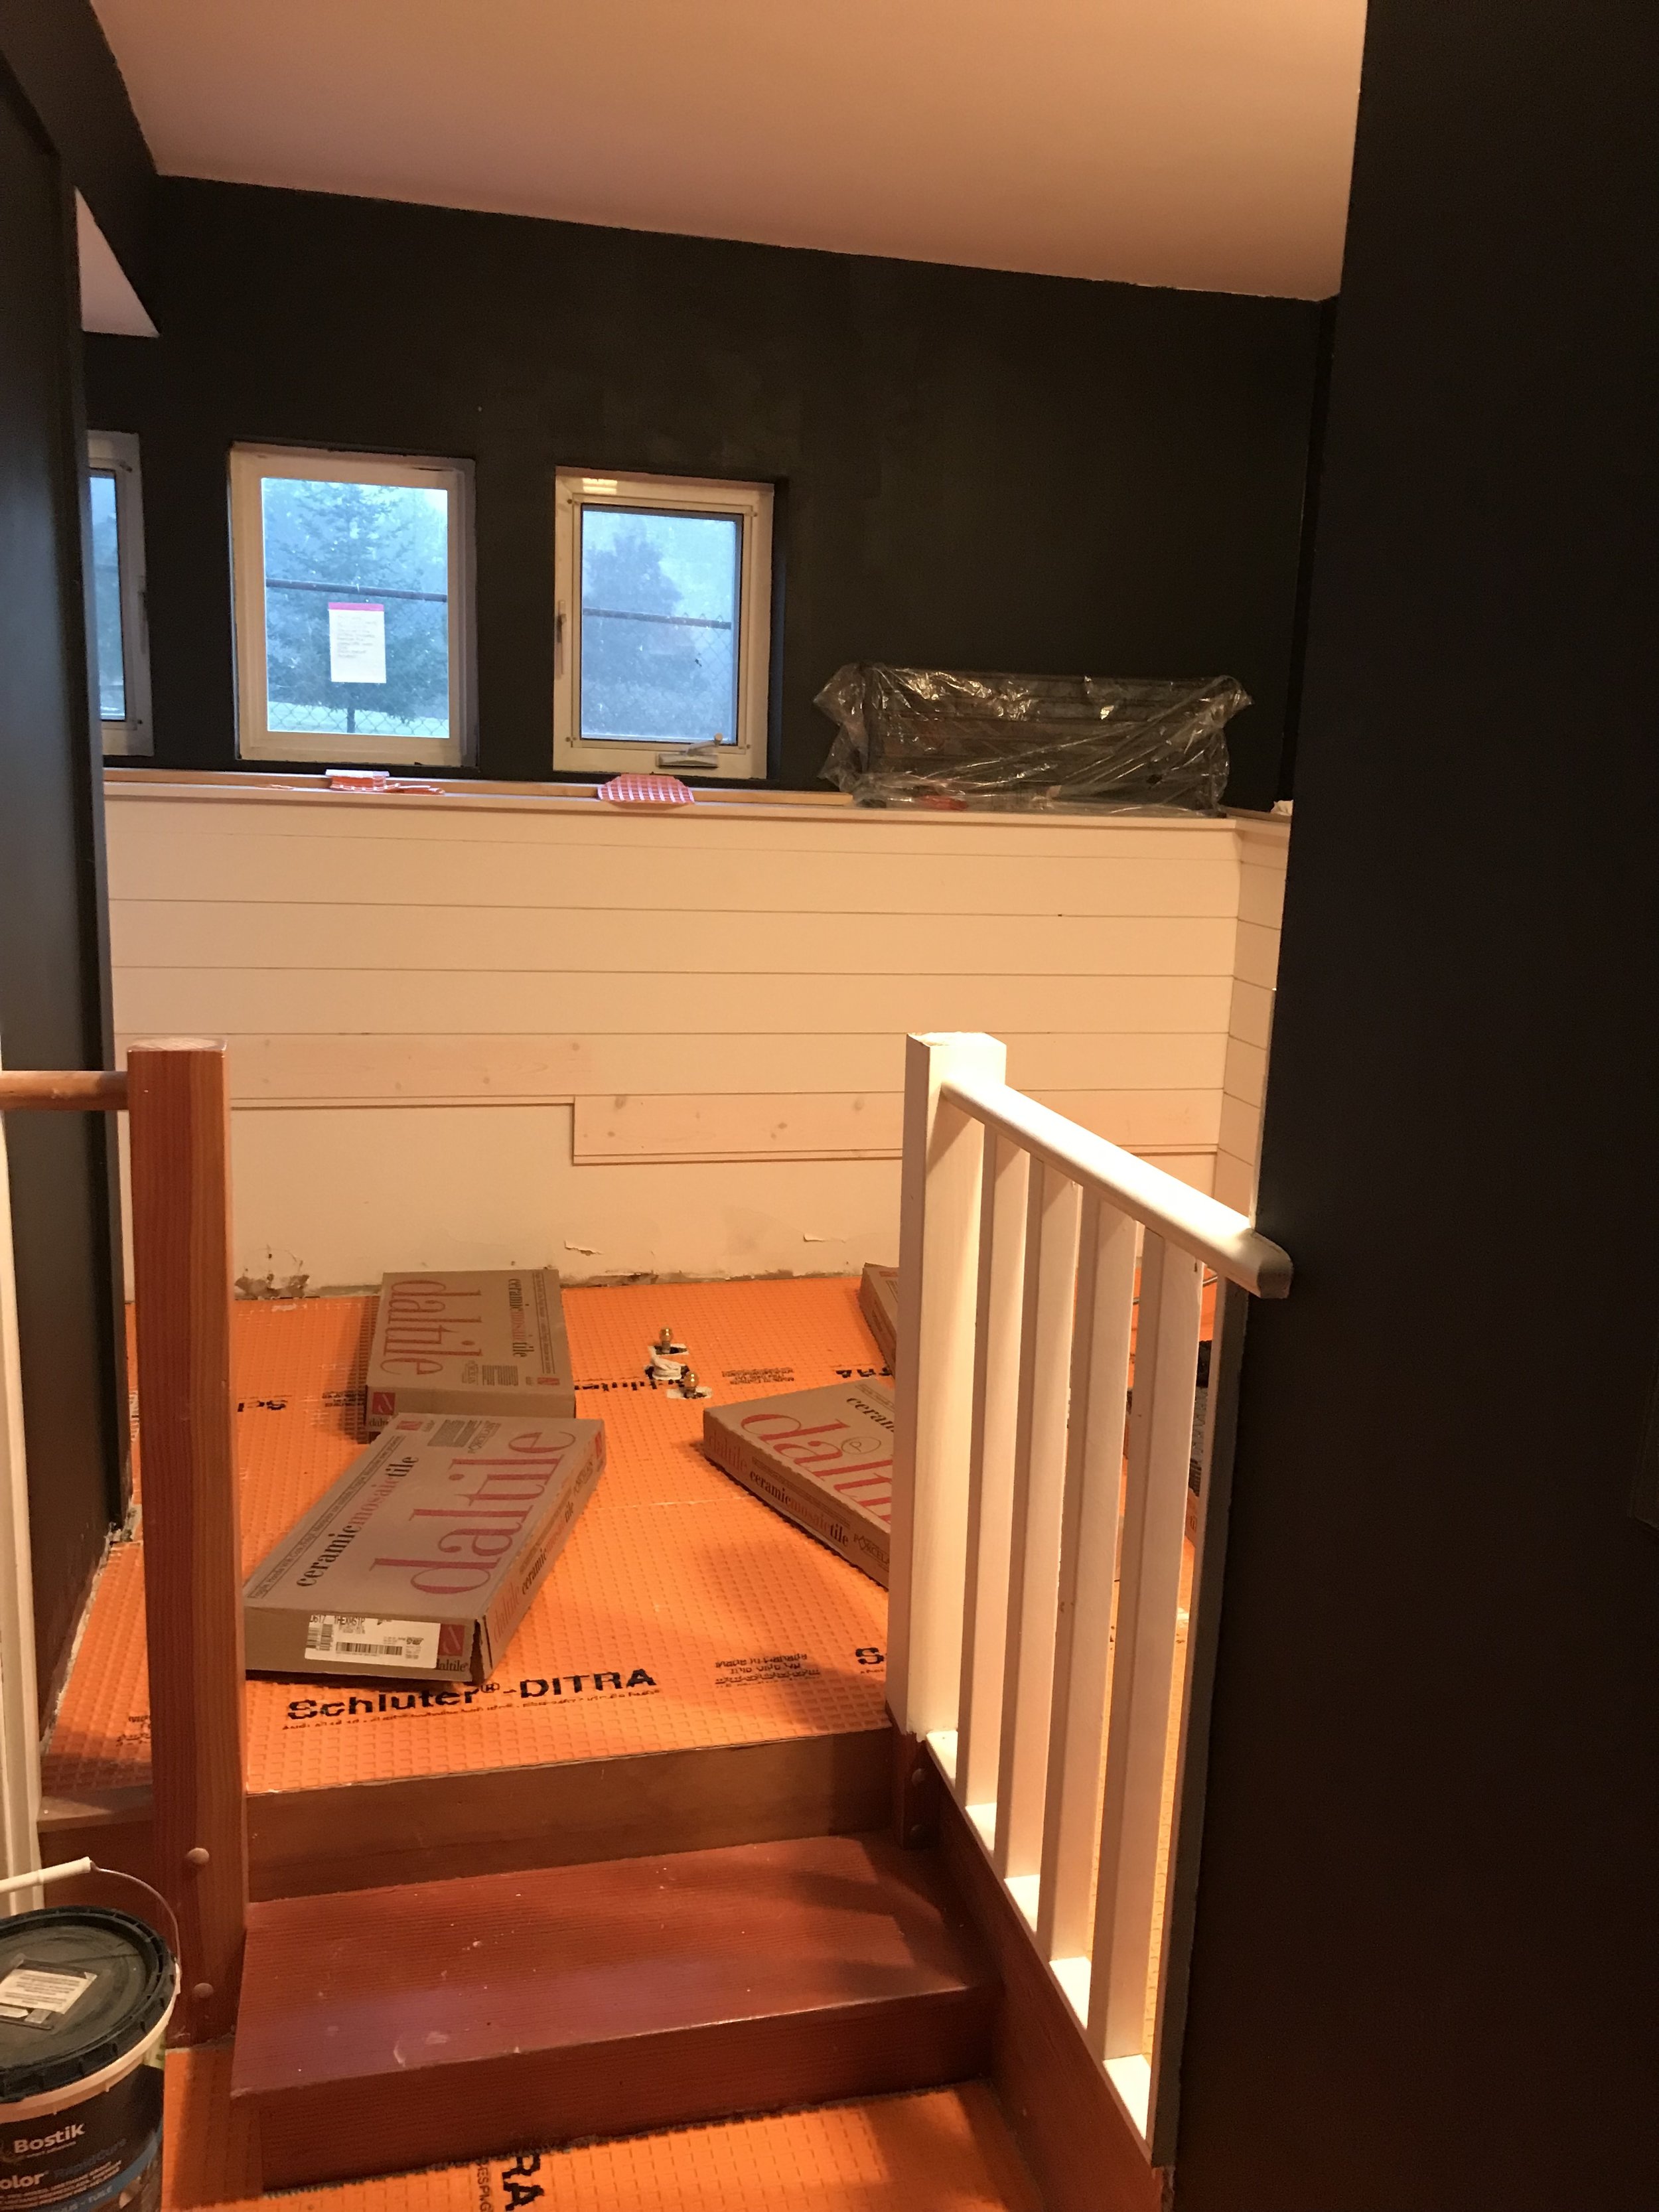
The last step was removing the vinyl flooring. This step was not totally necessary because the underlay Terry planned to use for the tile could go right over it, but it was peeling up already and easy to remove so I went for it.
Terry used this Schluter-DITRA product--a hardy polyurethane substrate that prevents cracking and provides a solid foundation for the tile. It comes in rolls and you can buy it at any big box store. Terry was able to get this down on the floor in a long afternoon.
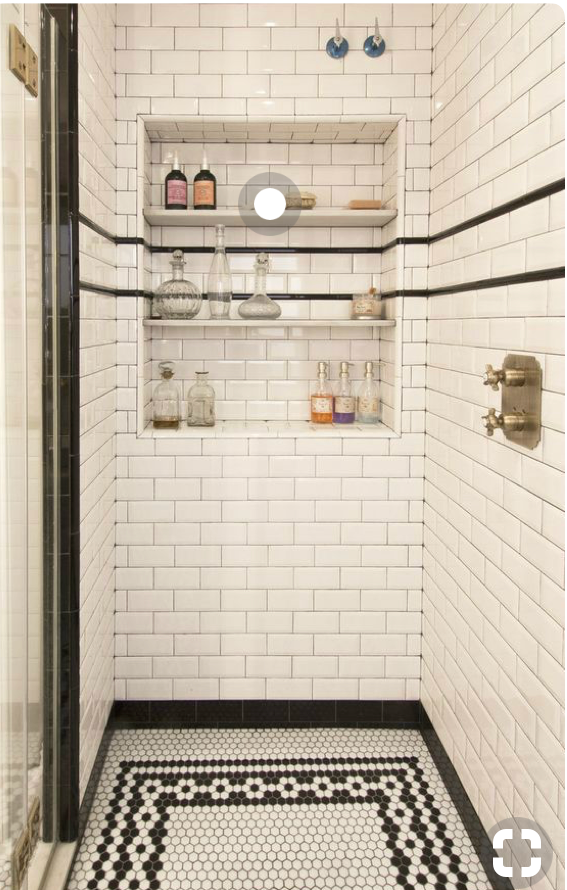
I had decided I wanted to use a small hex tile in a black and white pattern. I was inspired by vestibules in old Chicago apartment buildings, old school bathrooms, old train stations, and old office building bathrooms. I had studied a lot of patterns on pinterest and other pages (There are LOTS...see?). Patrick and I picked one that we liked and provided the picture to Terry.
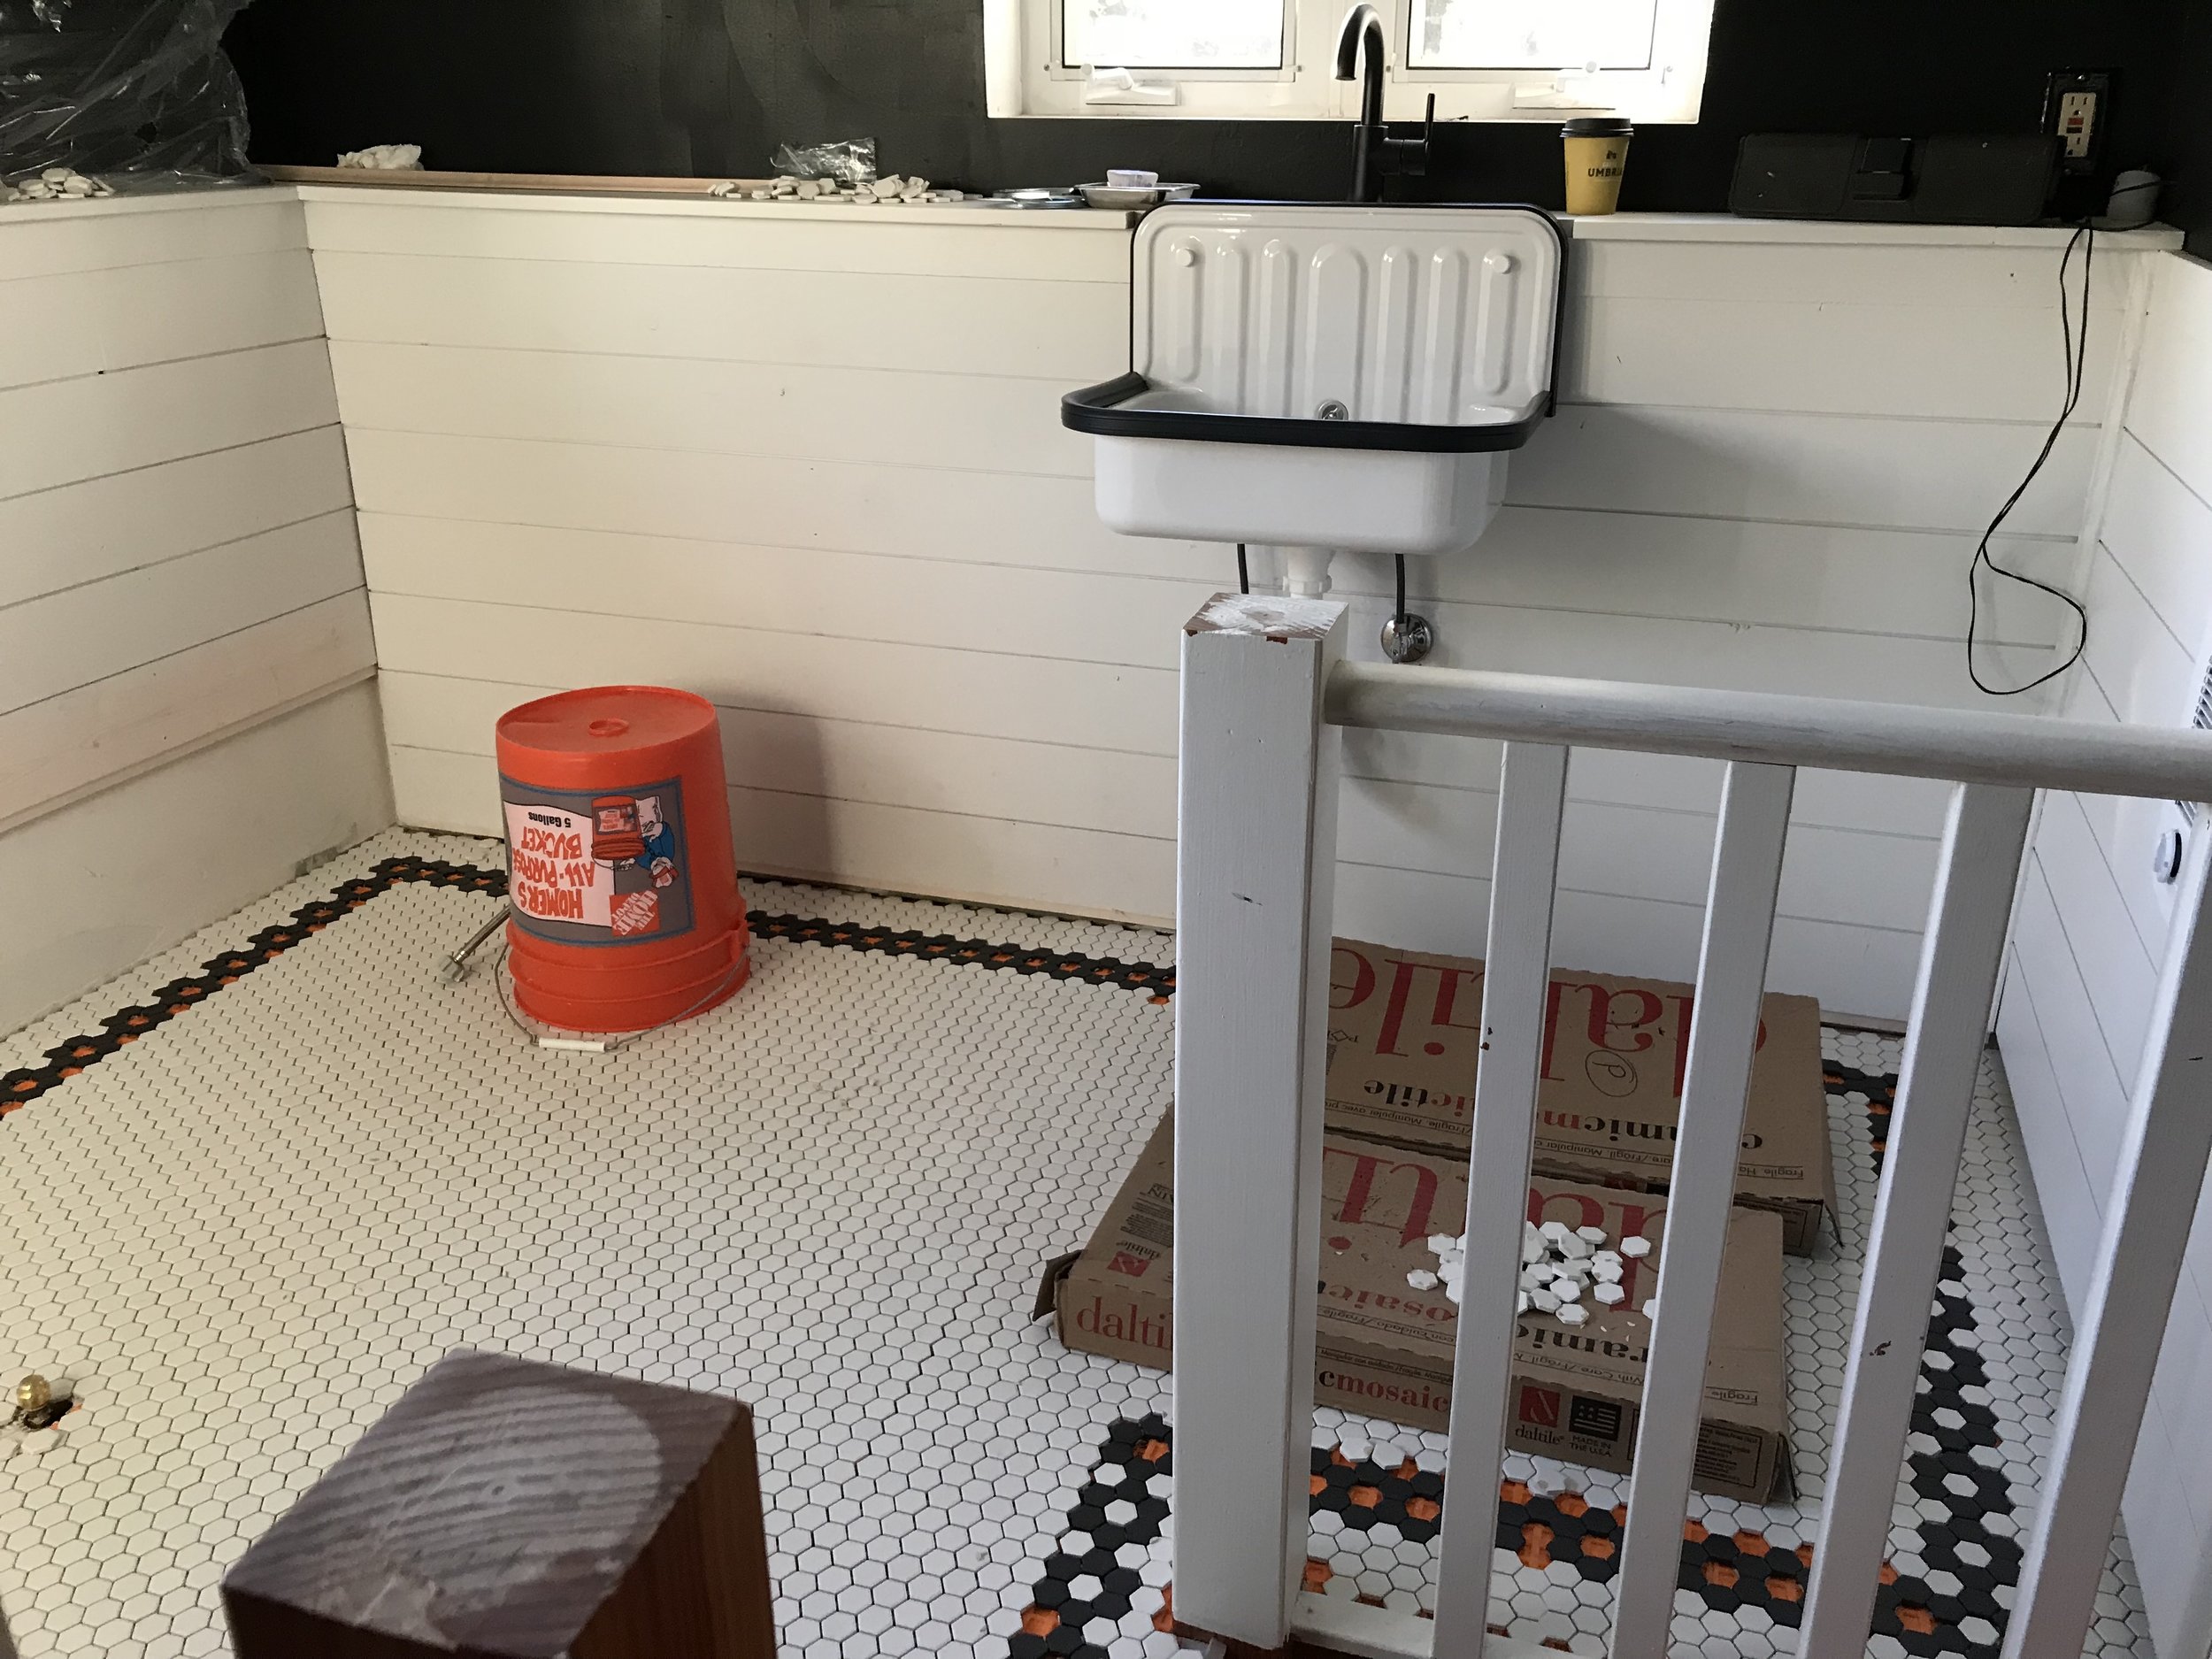
Terry suggested we use Daltile. He explained that this tile is a little bit more expensive than others you can buy online or at Home Depot, BUT the backing on this tile does not disintegrate like some of the others. A good backing will save a person frustration and labor hours, so you will likely get your money back by saving in labor costs. So the decision was easy. And the tile is absolutely beautiful. It has a matte finish, which modernizes it a bit.
Because I did not install the tile, I can only provide pictures of the work that Terry did and sing his praises. He spent several days laying the design out and meticulously cutting the pattern and placing the tiles. I was really impressed with his patience and careful work. He did amazing work.
Once the floors were ready to walk on, I reinstalled the toilet. I have never before installed a toilet, so I was worried about it. There was no need. The new flange easily fit properly on top of the tile, and I had no trouble screwing it down.
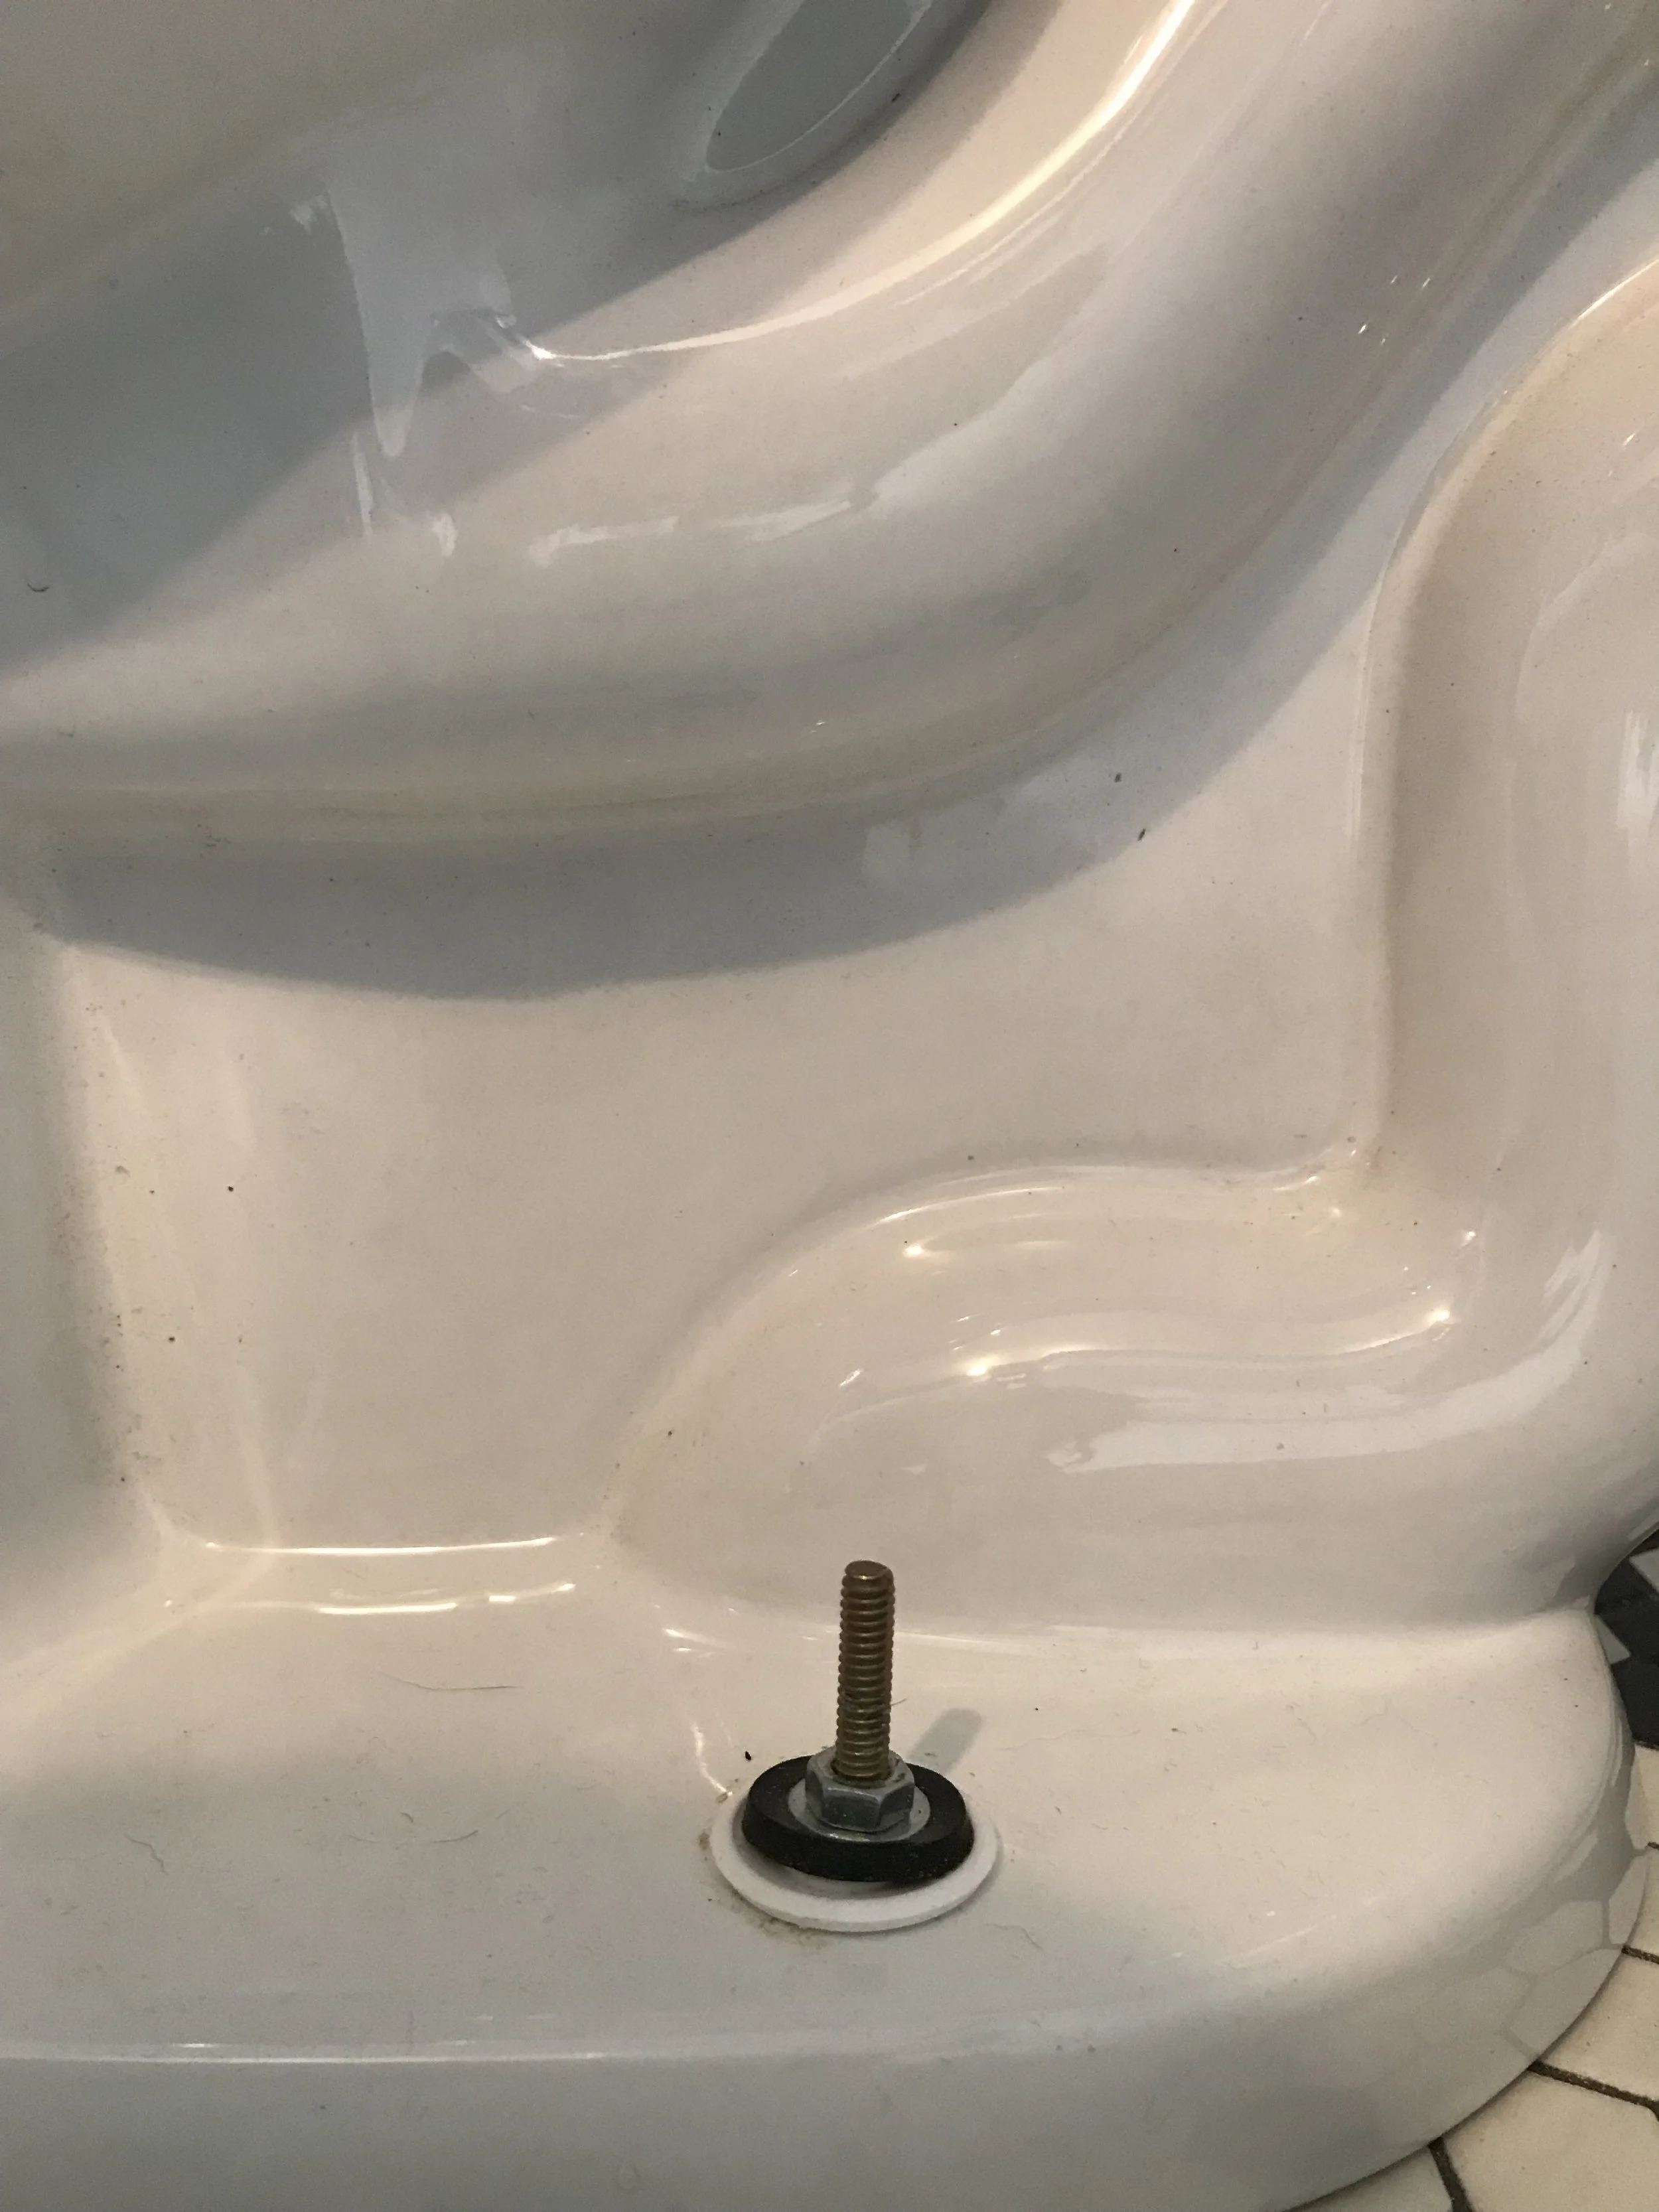
There are new toilet seals that don't use wax, and I did some research on those. In the end though, I went with the standard wax ring. I placed the wax down on the flange, guided the toilet over the flange bolts, and placed the toilet on top of it. I then pressed it into the wax. Once that was done, I screwed the nuts onto the flange bolts, being careful not to overdo it. If you do it too tightly, you might crack the porcelain. Done. Not difficult. One mistake I made was buying angle bolts that were too long as you can see below. Honestly, I had no idea they came in different sizes. Accordingly, the little plastic cap that covers the bolts did not fit. If that little plastic cap is important to you or you have young kids around, make sure you remeasure and purchase the right length bolts.
Attaching the toilet tank can be a little tricky. First off, take the opportunity to buy new tank-to-bowl bolts if you are reinstalling a toilet. They aren't expensive, but they wear out so this is a good time to get some fresh ones. You can buy them at any hardware store in a handy little pack. The key to avoid leaking from the bolts that hold the tank to the toilet is the order in which you place the rubber rings, the bolts, and the wing nuts. For our toilet, this was the order that worked: (inside the tank) bolt head, washer, rubber gasket and (outside the tank) rubber gasket, washer, nut, and (under porcelain toilet) rubber gasket, washer, wing nut. And even when I had the order right, I had to come back and tighten the wing nuts numerous times before there was no leaking. In fact, I spent the next couple of days making sure there were no leaks around the base of the toilet or around the tank, and I kept my nose out for strange smells. There weren't any....so I am confident the toilet was installed properly.
Having the tile floor completed and the toilet installed felt like a huge step. But there was still a lot to be done, including completing the shiplap installation, trim, the tub, additional painting, caulking, and touch-up painting. Onward!