Project #5: Let them breathe air!
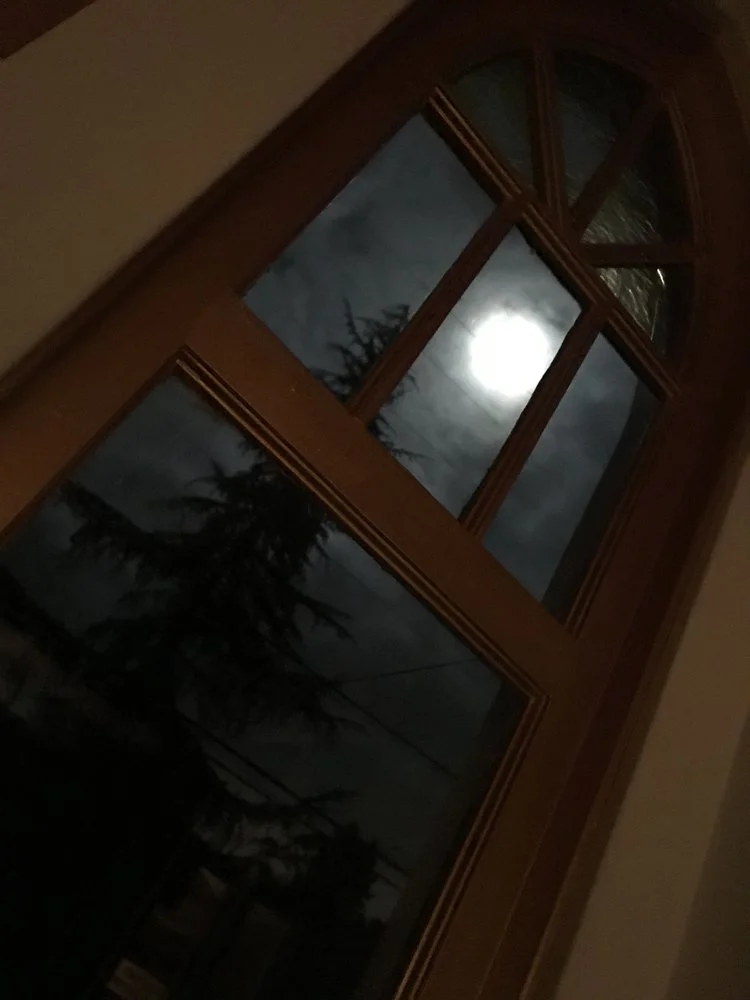
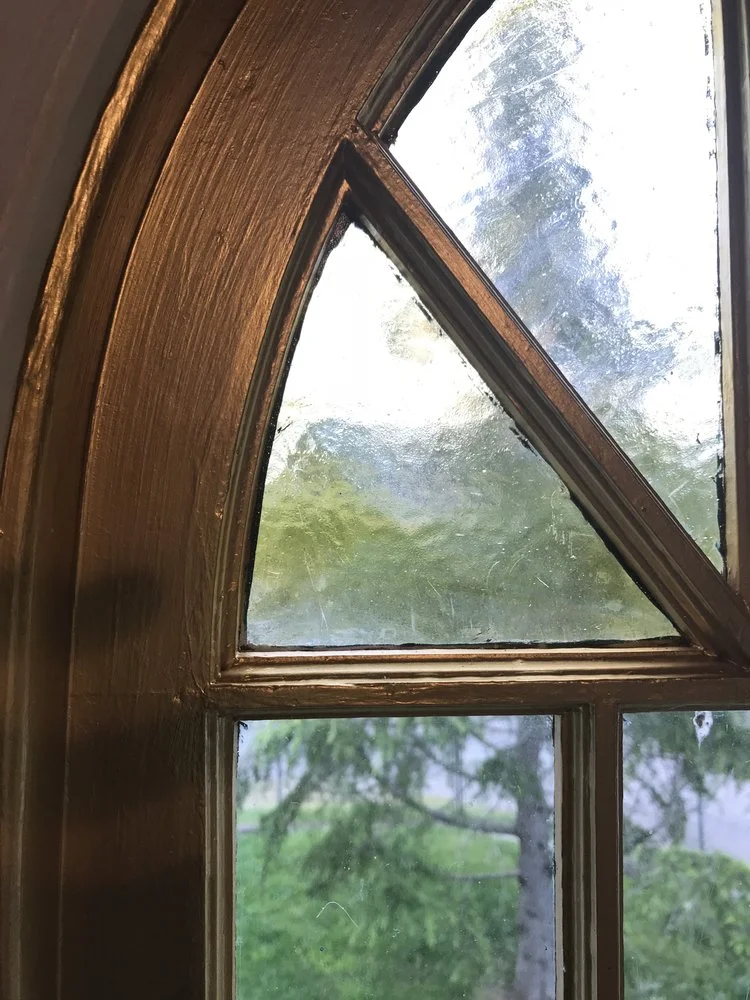
One of the most peculiar things we discovered when we moved in to the church involved the windows. Our church has 11 sets of windows. Its worth mentioning that the church windows are really beautiful. They are American Gothic style with clear glass on the bottom and middle and topped with a subtle yellow stained glass.


Function
There are 9 sets of windows in the main part of the church, and each set consists of three windows. The builders of this church designed the center window of each set to open as a transom. Transom windows typically open about 30 degrees or so and use a chain or transom rod to hold them open. And transom windows are usually installed on the interior of a building and placed over a doorway to let in air and light. It is not very common to see transom windows on the exterior of a building because this type of window is not very efficient. It lets in even less air than a double hung window and it really limits the opportunity for cross breezes. The closest thing to the type of window we have is a casement window, but those are different too. So I'm calling them transoms.
When we moved in, we were surprised to discover that only two of the windows were functioning. We expected to find the others had been painted shut, but that was not the case. It was clear that some carpenter (or skilled layman or laywoman) had carefully and thoughtfully sealed the windows and caged them in with meticulously matched moldings. Huh.
The two functioning windows provided some clues about why someone made the decision to shut the rest. First, there was no weatherstripping at all. So in the cold months, the windows allowed lots of cold air in and let heat escape. Second, the functioning windows were in the raised "alter" area of the church, so they could be opened easily by someone of normal height. The other window latches were just out of reach. Nonetheless, they are old, well designed, sturdy, and beautiful windows.
This is when I digress into a tirade about new windows vs. old windows. Old windows are simply superior in a multitude of ways when compared to new windows. 100 year old windows will last another hundred years if they are maintained. And if old windows are properly weatherstripped and maintained, they will rival the efficiency of double paned windows. Find out more about this school of thought here, here, and here. I love old windows. They just don't make windows like them any more. Tirade over.
In our church, it was clear just by looking at them that the windows are very skillfully designed. Despite the fact there was no weather stripping at all, they did not leak. No matter how heavy the wind and rain, they stayed dry as a bone. They slid out from the frame perfectly, even after nearly 90 years. And there was very little damage to the wood from the elements. With summer weather fast approaching, there was no time to waste and our mission was clear:
We must free our windows before we roast in the summer heat.
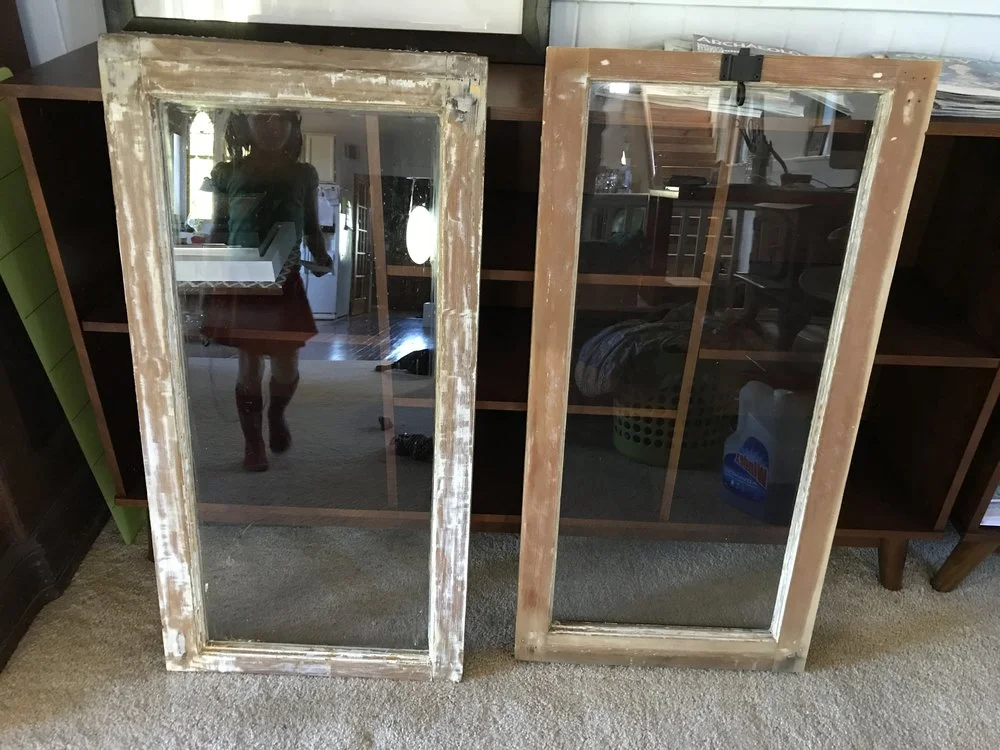
We used a utility knife to cut through the paint and putty, and a mini pry bar (which turns out to be one of the greatest tools ever for many things) to pull up the moldings. We were left with a mixture of putty and glue and paint that was "sealing" window. It took some work from the inside as well as some work on a ladder on the outside, but ultimately the windows were released from their goopy traps. Once released they were ready for paint removal and some cleaning up. The few pictures below make the paint removal look easy peezy...far from it. More on paint removal later....


Hardware
Once all the windows could open, we needed to choose hardware. We decided on transom chains. The two functioning windows already had transom chains as opposed to transom rods. With transom rods, one can control how far the window opens and stays open. With transom chains, you are just stuck with the length of the chain. But transom chains are much cheaper and less obtrusive. They weren't easy to find, however. I eventually found them at Builder's Hardware in Seattle. For historic hardware, its a great place. You can actually pick up and feel what you want and then order it if they don't have it in stock. There are also places I have found online, and I eventually ordered the latches and transom chains we decided to use from Historic Houseparts.
The original transom chains on the two windows were brass. I don't believe the brass finish was original to the church and the chains appeared to have been replaced at some point. Thank goodness, because I really don't like brass finishes. So we felt free (and guilt free) to choose a finish that would go with the rest of the hardware in the house. We decided to replace the chains and other hardware using an oil-rubbed bronze finish. We replaced the latches, which had been painted gold and were falling apart. We replaced the hinges and the chains only because we chose the darker finish. It was heartbreaking to put pretty new latches on windows that were still gold or only partially stripped , but the goal was to have functioning windows.


Screens
Once the windows were functioning, we really thought we could make it through the summer that way. Alas, it was not to be, because...
...one morning, my husband got stung by a wasp while in BED.
Sooooo, we decided that screens were probably going be necessary. Installing screens in a historic building was going to be tricky. I didn't really want them to be visible from the inside or the outside. And how was I going to connect them to the window frames? Also, how would I find screen that fit? I looked into a couple of options: making my own wooden screens or custom ordering screens.
The wood screen idea was compelling because I suspect they'd look cool and leave lots of room for error. However, time was of the essence and let's face it, I've never built a screen before. So, I started looking into custom made screens. I was surprised at how easy it was to order them online and they were fairly inexpensive. I ended up doing just that, ordering them from Quality Screen, Co. With a name like that, who could go wrong? I decided to order the screens that claimed to be the most invisible. I measured. I measured again. And I measured again. And then I ordered--all 9. I had briefly considered just ordering one and making sure it fit and could be installed, but I had faith! Achtung: Foreshadowing. I randomly picked the pinhole fasteners, and I hoped they would work.
Of course, while I was waiting for the screens to arrive, I was frantically researching all the different ways screens are installed so I could figure out how in the heck I was going to fasten these screens to the old window frames. My end goal was to drill or nail as few holes as possible. They arrived well packed and safely in a single box. I pulled one out and brought it to the window and discovered I'd mis-measured by 1/8 of an inch. Crap.
Thankfully, the mis-measurement was not fatal to the project. In fact, in the end, I think it improved it. I used an angle molding, which I fastened to the window frame. Then I drilled little holes in the angle molding to capture the pins of the screens. The angle made it less likely the screens would fall out while being removed and put back in. In hindsight, I wish I had mis-measured by more--1/4 inch would have been perfect. They also closed any remaining gaps between the window frame and the screen. I performed the install from both the inside and the outside of the house on a ladder. After a few days, it was done. No more wasps.


Weatherstripping
After the screens were installed, we ignored the windows for a while. Honestly, when I have so many projects to work on, I find that I have to mix it up to avoid frustration and boredom...and it minimizes injury, as well as swearing. But as summer was coming to a close, new concerns emerged. Now that all the windows were functioning, we were concerned about heat loss. And even though we had faith in the design, we wondered whether these other windows would leak in heavy rain and wind. Could that be why they had been closed so carefully?
So the time had come to figure out how these windows could and should be weather stripped. There are a lot of weatherstripping options out there. But a lot of it is ugly and would not work well on transoms or casement windows. After much research and thought, I decided to use spring bronze weatherstripping with copper nails. This weatherstripping is used most commonly on doorways and casement windows. We tried to purchase it at our local hardware stores, but no one knew what we were talking about. Thankfully, Amazon does. So I ordered it from them.
Spring weatherstripping comes in a roll and it can be cut to length using metal shears. I think you can order it with pre-drilled holes, but I did not. Punching a hole for the nail was super easy because the bronze is a pretty soft metal. I carefully marked the spots and punched the holes 1" apart. Conveniently, I have leather working tools available that worked perfectly to do this job. But it would work fine to just purchase a small awl and use a mallet or regular hammer.


Once the holes were punched, the strips were ready to be installed. I started by nailing at the top, flattening down the strip and nailing in the middle, and then I nailed at the bottom. This way I could make sure it was straight and the window closed properly and tightly before I nailed the whole thing down. Once I was happy with it, I simply nailed the rest of it. Installing this weatherstripping is super easy. It looks great. And it gives a tight seal without disrupting the window function. It was a great choice in the end. It is absolutely invisible when the windows are closed, but quite lovely to look at while they're open. And it WORKS.


